Saturday, May 28, 2016

Worshipping the blueberry pancake

Over the past few years I've been working on videoing and photographing food for Rie's Kitchen.
My general rule is to be authentic, that is we eat the food after the shoot. There is no hair spray or any other weird food tricks going on here.

So this is the hero shot:


This is what it looks like behind the camera.


You'll notice the camera is atteched to a glide, this is because every shoot we do these days we do three things:
1. Video pan - for the YouTube hero shot.
2. Landscape - for the YouTube thumbnail, and social media.
3. Portrait - for the book (yes we now have a Rie's Kitchen book).

The light is coming from the skylight above - natural light is king (use it whenever you can).
Then there are three bounce cards (one is just a folded card - awesome trick that, it stands all by itself).
Then there is professional reflector, on the left - just to help out with the key lighting.
The rear card is actually to block out some of the light falling on the back of the "set", helps darken the bench top.

The configuration of this scene is really just experimentation, with a basic idea in mind.
The set up is generally done with a stand in - because food flattens real quick, and so you generally want to just swap in the hero food at the last minute and shoot. If done right, you can be eating still warm pancakes!

Blog : rieskitchen
YouTube channel : RiesKitchen

Monday, February 4, 2013

Long time painting

I've been distracted by Instagram for last year or so, you can check me out here.
http://web.stagram.com/n/molescat/

The above shot is a classic long exposure and light painting, taken at the start of this year.
The camera is set to manual focus (mostly because the auto-focus struggles in low light).
Time priority of say 30 seconds, a manual flash is triggered to exposure the subject, then you paint in the "art". The beauty of this technique, over say just doing it in Photoshop, is you actually get the correct radiosity off the painted light for free. I think that's what makes these kinds of photos look so compelling.

I realized when describing this technique to a friend, that I have been experimenting with Light Painting for over twenty years now - which was a scary thought.  When I started, it was all on film of course, and we had no idea whether it was working how we wanted it or not.  You would think I'd have mastered it by now.

Old school, taken on film:


Sunday, April 3, 2011

Tron Legocy


Inspired by
http://gizmodo.com/#!5787259/shooting-challenge-lego

I've kind of done this thing before - back in 1990, some twenty one years ago - ouch.
But back then I didn't have Lightroom or an iPad to help with the cool effects.
I really need to get myself a macro lens, shooting this on 300mm, 2m away is really fiddly - you need to take great care not bump the frame, or even have the frame droop, with a heavy lens you need to lock in a quarter frame higher to compensate for the droop. You also need to turn off the image stabilizer, and auto focus, as they are just going to mess things up with a time lapse shot.
I was going to try some extra effects to get a lego light-cycle in there, but the set up was already a 30sec shot.
And a double exposure was just going to make everything really complicated.

Sunday, February 13, 2011

Wingardium Leviosa


This turned out to be simpler than I imagined. Two shots, one with a stand to hold the bike, and one without.
A little GIMP (poor mans photoshop), to airbrush out the stand and voila.
(And a little Lightroom to tweak the color palette)

Inspire by (and too late for)
http://www.facebook.com/ShootingChallenge

Or
http://www.facebook.com/album.php?aid=44149&id=114955518535358
Posted by Picasa

Monday, January 31, 2011

Bokeh

Some fairy lights, shot with the 50mm, f1.8.
http://gizmodo.com/5743842/shooting-challenge-bokeh

I'm not sure if this is working for me.
Posted by Picasa

Thursday, January 13, 2011

Check Mate


In the cult film Blade Runner, it has been noted that Dr Tyrell and Sebastian are playing out the last moves of the famous "The Immortal Game". I have this lovely old chess board, which was my father's, and I'd always liked the translucent nature of the pieces.
I've also been tinkering with borders in LightRoom - which is not it's forte, but it works. It seemed fitting to use an old school Polaroid for this shot.
Footnote - it's damn hard to get all the pieces readable in a shot, and have it look half decent - so I gave up.
The pieces of note are the two knights, bishop and queen attacking the black king.
Posted by Picasa

Friday, December 31, 2010

Who goes there?


How many SciFi movies have you seen where they've used this cheap effect - Predator, and Beast Master spring to mind. I've always wanted to try my hand at this - but a word of warning, although the chemicals are non-toxic they will stain (they maybe a little corrosive, like vinegar or something mild). The setup is pretty straight forward, and the result has had minimal LightRoom treatment. My tip to shooting in low light, is to auto-focus whilst the lights are on, and then switch to manual focus for the rest of the shoot. (Just remember to switch back to auto when you're done, or you will be scratching your head next time you get the camera out).
Posted by Picasa

Monday, December 27, 2010

Brain cells


After the recent trouble with inky water challenge, I was going all out to capture some smoke.
When they say you need a lot of light - they are not kidding, this is lit with 1500W of halogen, and a bounce card one foot to the left. In case you haven't spotted it, this photo was shot upside down - as smoke rises. The shot glass is suspended from above, dangling by a simple bit of string and gaffer.
Black drop cloth, and a microphone stand to hold the stinky incense stick, and you're away (well about 50 photos later). Then it's just a little LightRoom to flip and color grade.
In case you're wondering, the "IQ Zero" shot glass is my dig at Alcohol and Tobacco.

Inspired by http://gizmodo.com/5662030/82-striking-photos-of-smoke
Posted by Picasa

Sunday, December 26, 2010

Dark moment

This is a Photoshop (Gimp actually) composition of two photos - #1 for the basic setup, and #2 for the gun blast, which is actually light (close proximity torch light), which is then subtracted from the image. And then a little bit of LightRoom for the color grade.

Inspired from http://gizmodo.com/5504469/shooting-challenge-shadows-part-1
Posted by Picasa

Saturday, December 25, 2010

Blood Simple


This shot looks pretty straight forward, unfortunately it wasn't, and needed some pretty heavy handed lightroom to save it. Now it may have been easier if I had red dye, but this actually Soy Sauce - and through the wonders of digital technology, it's now red. But that is really the least of your worries - the real problem here is pulling the clean white back ground out, without losing the detail of the dye. Overall I'm still not happy with the end results - and ideally would shoot it again, but I'm done with it, and want to move on.

I got the idea from here.
http://gizmodo.com/5661918/shooting-challenge-smoke-gallery-1

I'm now tempted to try some smoke.
Posted by Picasa

Thursday, December 23, 2010

Freelensing


I don't know if I would recommend this style of photography for the faint hearted. Grab your 50mm lens, unscrew it, and turn it around - that's right back to front, and hold it in front of the camera - and you've got yourself a poor-mans macro. This "technique", also known as freelensing. I set everything to manual, after checking the speed, ISO etc, manually focused by moving the camera forwards and back, and click - it works.

Truth be known I actually tested this out with my old film based Ricoh, with its lens, so I knew how to hold everything together, before trying this with the DSLR (didn't actually take any shots - as I have no film in the house).
I'm surprised this even works - I thought light leakage alone would ruin the shot.

I got the idea from here
http://gizmodo.com/5679403/101-photos-taken-with-the-lens-detached
Posted by Picasa

Wednesday, December 15, 2010

Food for thought


I've done a series of photos for Rie's blog (http://rieskitchen.blogspot.com/), and this is the latest.
Now for food I prefer to shot with natural light - as lighting with artificial light, and making it look natural is a skill that still alludes me. This is shot in the dying light of an overcast afternoon - I was actually against the clock with the light really fading. These little gluten free treats were straight out of the oven - and the scene is completely fake - a table has been dragged to the window to get what little light there is left, and then dressed the table with whatever festive decor I had at hand - pronto. The shot is taken with a 50mm lens, with a moderate aperture - because I wanted the closest mince pie to be mostly in focus - so 3.2 felt right - 1.8 was too much BOKEH (did I just say that).

(PS - A professional food photographer contact of Rie's commented that the photo was maybe a little busy, not enough white for some particular magazines, but other than that, said it was pretty good - I must be doing something right)
Posted by Picasa

Thursday, December 9, 2010

Bug in the machine


Birthday surprise.
Taken with the 50mm lens & tripod, with up-lighting under/behind the circuit boards, and a little side lighting for key lighting.
Not much light makes it through the boards - hence the need for the tripod (0.3s f7.1)
Posted by Picasa

Wednesday, December 1, 2010

Spflash


I'd always wanted to have a go at this kind of photography - all you really need is a flash and some patience, as it's going to take more than one attempt to get it right. The flash will generally only want to go to about 1/250, and this is shot on a 50mm, so you can get plenty of light. Tweaked up in Lightroom to look more pumped. If I was to have another attempt, I might try manual focus, on where the fruit is going to be
Posted by Picasa

Saturday, November 20, 2010

Golden Orb

It's much easier to shoot a spider when they are fricken huge.
 
In the wild these critters, are generally under the jungle canopy, which is generally low light.
But a tripod, and long exposure will not really help you out here - as the slightest breeze and the whole lot moves.

Sunday, March 21, 2010

The red hourglass


It's harder than you think to photograph such a small subject.
This is a juvenile female red back spider.
The lens is less than one inch away, and focusing it extremely tight.
Thankfully there is a glass jar between me and her.
Posted by Picasa

Sunday, June 14, 2009

Flame


One candle (and one LED - I cheated, to give it a specular high light)
I'm not sure, if I'm done with the candle experiment, as I like the self illumination of the wax of the candle.
This is shot with the 50mm, and I experimented with the various aperture settings to get the right depth of field.
1.8 was way to shallow and basically nothing was in focus. Too much Bokeh can be a bad thing.
Posted by Picasa

Tuesday, June 9, 2009

Caustic


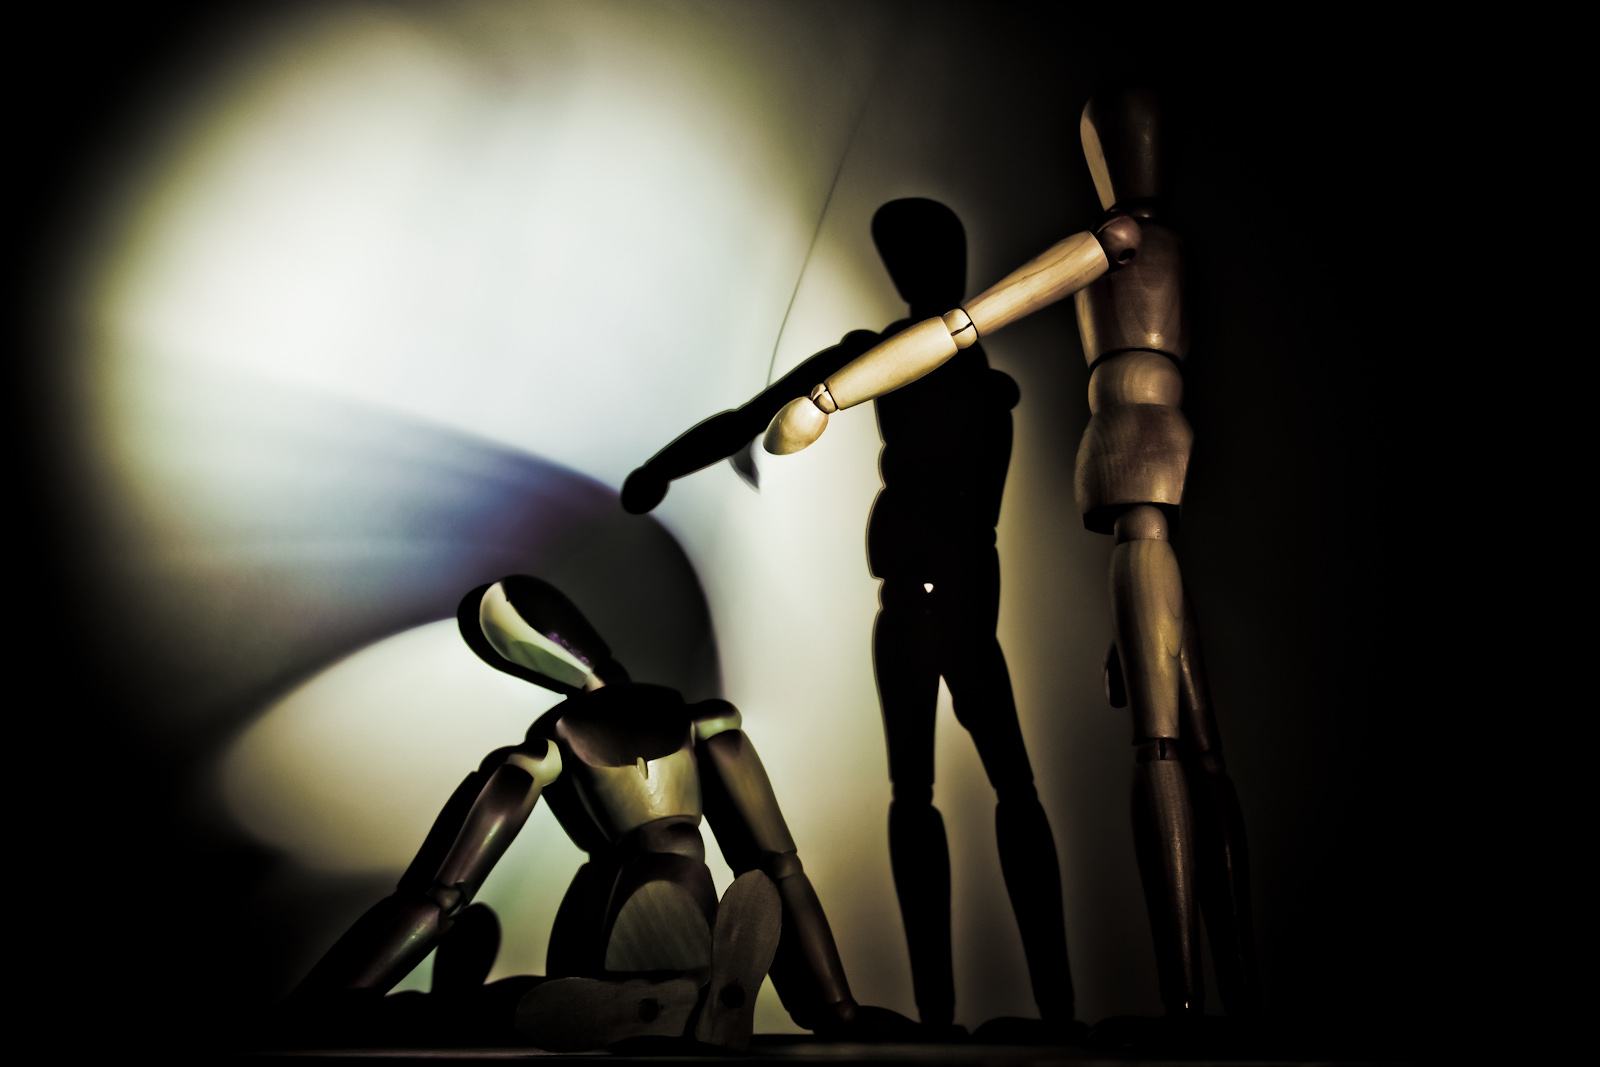
This was the hardest, and least satifying Mr Wooden so far.
I wanted to capture light bouncing off rippling water - how hard can that be (don't answer).
Well instead of being your friends, time and light are your enemies here.
You'll need a long exposure if you don't have a ton of light, and that of course will mess up the caustics, as time smears them all over the place. If you have a ton of light, you need to control it, otherwise it blows out the caustics, on the backdrop.
In the end, I should've brought out the 1500W light, but I was lazy.
I opened it up as much as the 50mm prime would go, dialed up the ISO, and 80 shots later, only had this to show for it :(
Posted by Picasa

Saturday, May 30, 2009

Fly


The speed blur in this shot is all done in camera.
I wanted the lighting to be natural, dropping a fake background on the shot will not match the lighting on Mr Wooden.
To get this effect I attached Mr Wooden to the camera, and moved the camera, with a slowish shutter speed.
I think this shot could be made better with a neutral density filter to make the shot even slower.
There is a fair bit of light outside, and even with the aperture closed right down, and the slowest ISO, it was still faster than I wanted.
To finish up a little bit of Lightroom to tweak the contrast, and vignetted the frame.
Posted by Picasa

Monday, May 18, 2009

Fall


In this piece, I'm playing with several themes. I like the light being an abstract, but motivated source.
I like the Depth Of Field giving a sense of movement - whereas in reality it's dead still (1/2 sec).
This is actually a lamp I own, which has autumn leaves embedded into the paper surface of the lamp - given really cool translucency. (IMHO). This is shot with a 50mm prime lens, which enabled me to get the fat bokeh, which simulates the depth of field you might get if these were 6 foot tall people, compared to their actual size of 1 foot. The contrast has been tweaked slightly in PS LightRoom.
The lamp is a 8Watt Compact flouro with 2700K color temperature - and this is pretty much the color the camera delivered.
Posted by Picasa